Tags
Custom Hot Tub Cover
May 2026
Westlake Hills projects
Leaky Door Consultation
April 2026
March 2026
February 2026
January 2026
December 2025
November 2025
Storage shed assembly
Shower tile
Garage storage
October 2025
Range hood vent
Front door repair
East Austin Victorian
September 2025
Kitchen Cabinet assembly and install
Tile repair
bedroom window damage repair
Shower window rot repair
Chimney rot repair
May 2025
flood repair
Hot tub enclosure rebuild
April 2025
new fence and gate
Rotten floor fix
Custom terrarium shelf
March 2025
rental property siding
new fence for startup house
fence repairs
Starbucks
Garage ceiling drywall
Dryer repair
Toilet mishap
Teri's Garage organization
Steam bath
Joe's Garage
metal gate rebuild
deck project
Upholstery
December 2024
Office drywall
Custom Patio Furniture
Cabinet repair
November 2024
storage unit window sealing
rental property inspection
Westlake updates
Tile backsplash
Stock tank pool deck
Rotten windowsill replacement
Porch railings
Dryer vent
Automatic Gate
Attic stairs install
October 2024
Soffit repair
Raised garden beds
Logo repainting
September 2024
floating plant shelf
Trellis
August 2024
Walk In Closet
Mobile Toolbox
Greensboro Dr rental make ready
July 2024
tub refresh
Siding replacement
NY Ave rental make ready
Mini Noguchi Table
June 2024
Quick Gate Repair
Lake Austin Remodeling
Drywall and Shower Caulk
May 2024
hail damage repair
Deck and Water Damage
Chicken fence and gate
Custom door
April 2024
storage shed
trailer wiring repair
fireplace refresh
under sink hole
gate and painting
fence and gate
February 2024
precision digging
kitchen and laundry room tile
RV table remodel
Back Door Repair
rental property updates
May 2020
Pool Deck Project
Garage Cabinet Project
Wonderlounge Tent Build
Pool Mosaic
Nova Crane Mobile
Deck Project
AMS Library Expansion
AMS Fence Project
Custom Furniture
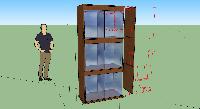
Client has a bunch of vivariums/terarriums that house poison dart frogs and the plants they live in, and he wants some custom shelves to put the terarriums in.
No problem!
He sent me some photos of inspiration, and I went by for a visit to see the space where they would live.
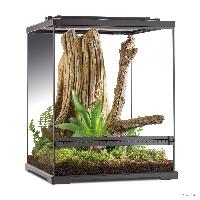
Ad photo for the enclosure

Ad for the enclosures showing dimensions
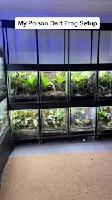
Design inspiration
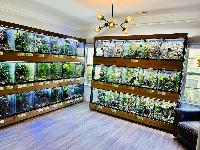
Design inspiration
Design inspiration
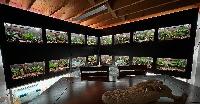
Design inspiration
Client sketch of proposed design
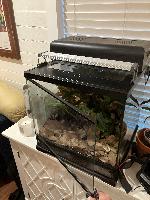
Showing me how the enclosures open
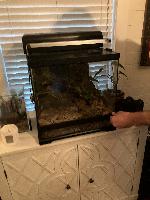
One of the shorter 18 x 18 x 18 enclosures
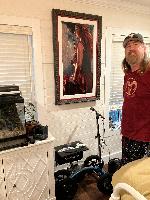
Client and the spot where the shelves will go
This is an older unit by the same comany with two doors and a seam in the middle.
One of the 18" tall ones. The shelf will be for 24" tall enclosures.
The light bars on top - have to leave room for those.
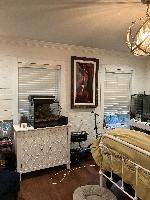
The space where the shelving unit will go
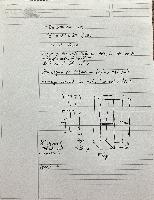
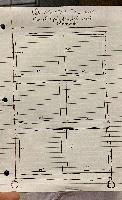
My notes from the in person visit
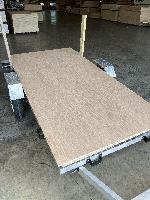
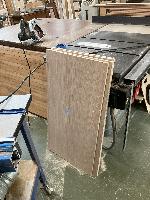
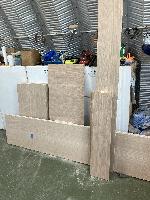
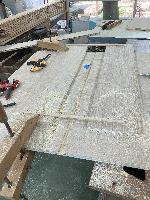
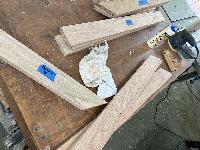
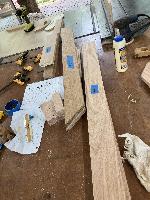
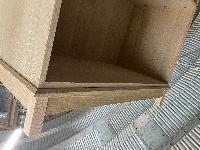
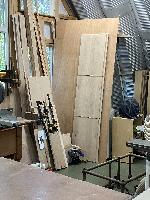
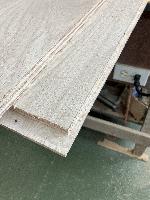
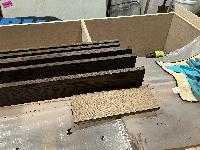
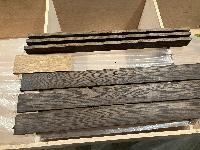
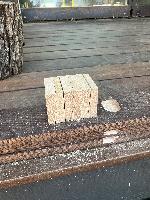
Raw plywood
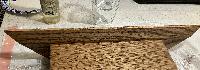
raw wood
Some more design ideas
I liked these legs
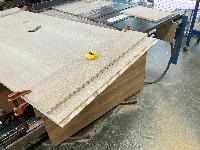
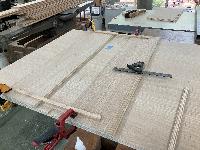
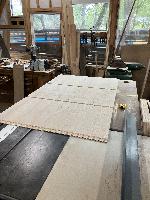
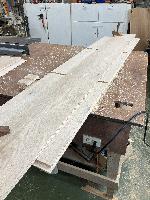
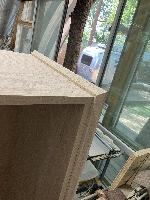
Cutting down the plywood for the sides
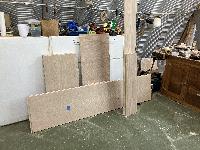
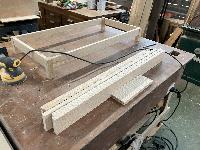
Shelves
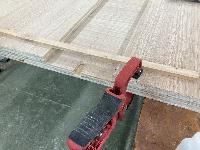
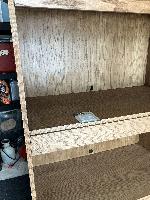
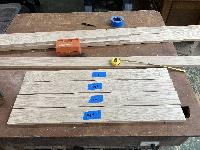
Making the dados for the shelves
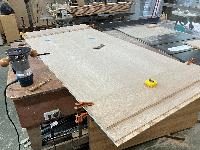
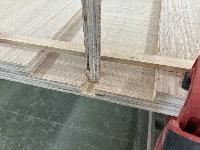
More shelf dados
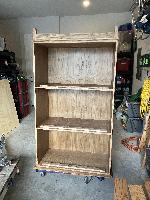
A good days work
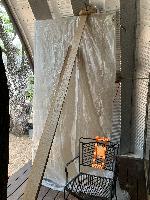
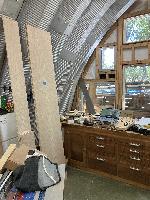
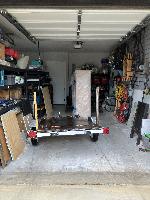
Working in someone else's shop means I have to keep my stuff organized
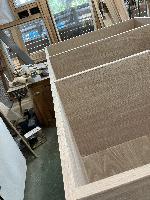
The dados in the middle need to be constrained on two sides
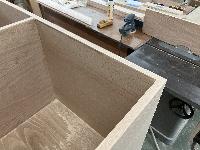
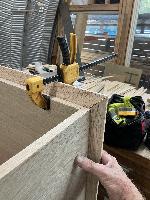
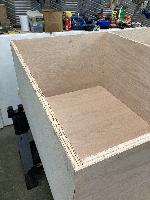
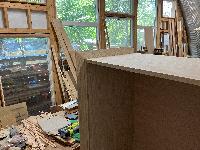
Checking fit

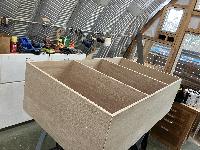
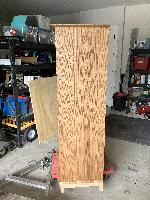
sides all done
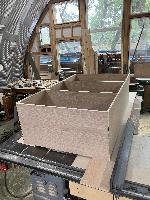
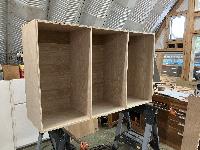
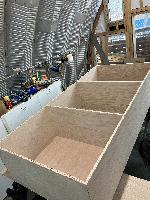
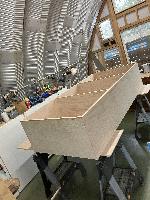
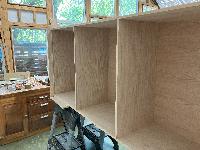
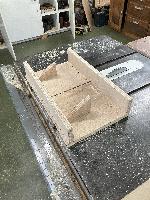
putting the case all together
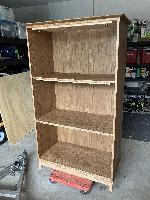
putting the back on
Adding edge banding to cover the plywood edges
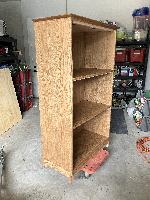
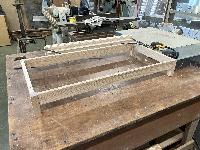
Parts for the top trim
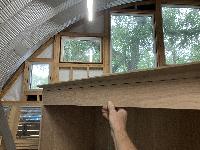
Top trim and flaps
Clamping the top trim on

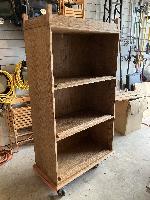
Adding the base on

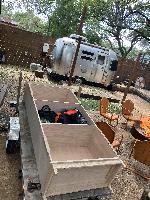
Almost ready for the trip home
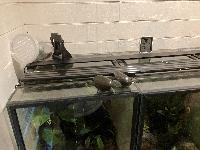
The flaps go on at the top of each section to hide the lights
Flaps added

Flaps open to show how they work
A sample piece I used to show the finish to the client
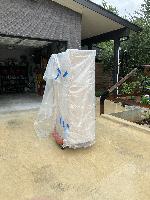
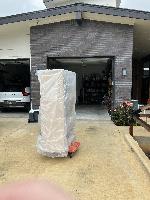
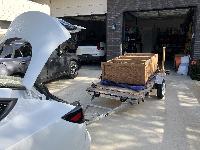
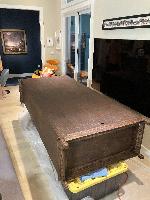
I pulled my trailer back to the workshop for transport to my house for final finishing
The friend who lets me use his workshop changes the saying here often
Wrapped up in plastic against the drizzle
Wrapped in a blanket against the straps
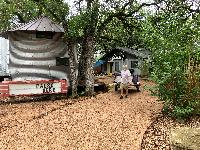
What a cute little pull toy!
Unwrapping at home
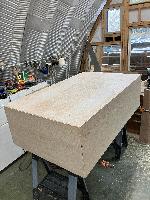
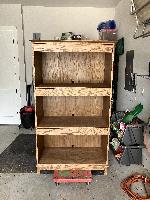
Ready for final finishing with Rubio monocoat
Looks very nice
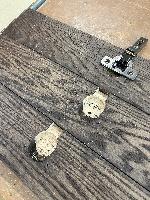
The flaps are attached with Blum hinges and come right off
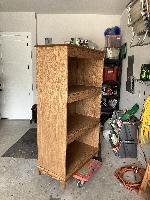
Upside down to make sure I got all the corners
Some bumpers to make sure the flaps close nicely
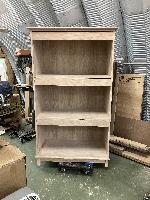
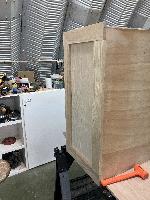
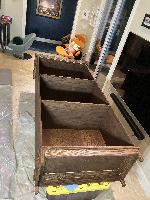
Done!
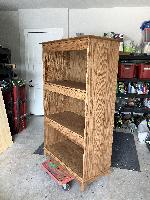
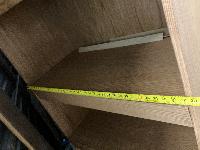
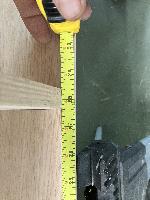
Final measurements - inside width, 36 1/2"
36 1/2"
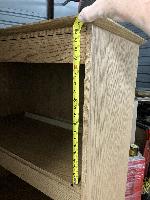
Oops
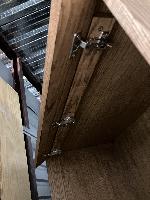
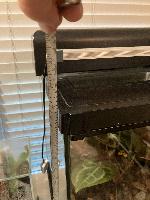
Showing the hinge mechanism for the flaps
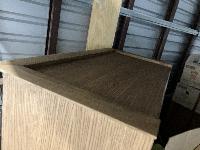
Detail of the top trim
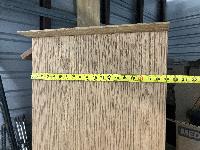
Outside depth, 19"
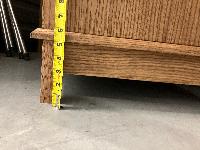
Base height 5" or 5 3/4" depending on what you're measuring

After delivering the first one (which implies there was a second one), I discovered that my measurements were wrong. The space for the vivariums were supposed to be 24" tall each, not 18" tall each.
Starting to cut parts for number two
Same basic construction


Made an extra flap just in case
edge banding installed

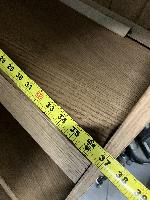
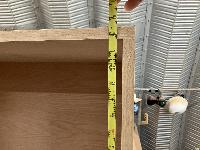
There we go - that's 27 inches tall
Proper height
37 3/4" wide

...and 19" deep
Looking at it from the base
base trim
Looking 'up' at the top trim
Top trim
Base/legs
These are the flaps that hide the lights
I'm so lucky I get to work at this shop!
Packing up to bring it home for finishing
Client decided on a darker finish for the second one
Small piece is Rubio Monocoat natural, the large pieces are Rubio Monocoat Charcoal
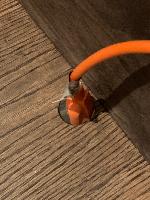
Making sure the holes in the back are large enough for extension cords to go through
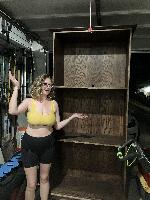
Our friend Lindsay for scale. She is very tall.
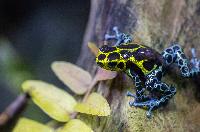
Some sort of tree frog that my client might collect, ferinstance
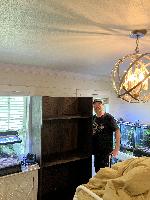
When we brought the new cabinet over to the house, it was too big to fit through some of the corners in the hallways, so after some very nervous discussion we decided to cut the cabinet and then put it back together. I had to choose somewhere to cut it, so I chose the client's height.
With the top re-assembled on top. Hardly noticeable!
This is a jig I made for the hinges so they would open nicely.
Showing the pieces that cover the lights
Parts for the hinges to attach to
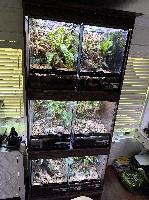
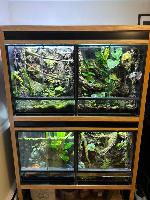
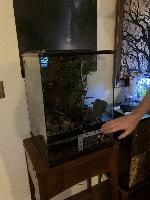
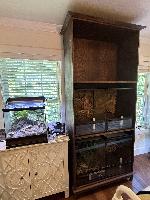
Final installation with the vivariums in place.