Tags
Custom Hot Tub Cover
May 2026
Westlake Hills projects
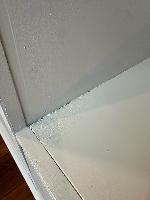
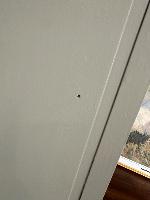
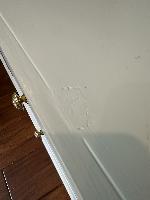
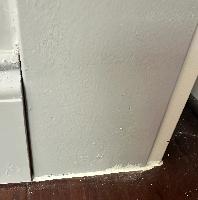
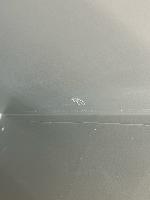
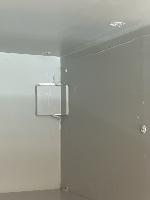
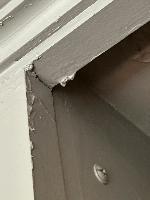
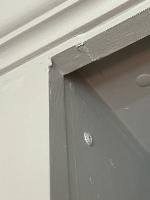
Leaky Door Consultation
April 2026
March 2026
February 2026
January 2026
December 2025
November 2025
Storage shed assembly
Shower tile
Garage storage
October 2025
Range hood vent
Front door repair
East Austin Victorian
September 2025
Kitchen Cabinet assembly and install
Tile repair
bedroom window damage repair
Shower window rot repair
Chimney rot repair
May 2025
flood repair
Hot tub enclosure rebuild
April 2025
new fence and gate
Rotten floor fix
Custom terrarium shelf
March 2025
rental property siding
new fence for startup house
fence repairs
Starbucks
Garage ceiling drywall
Dryer repair
Toilet mishap
Teri's Garage organization
Steam bath
Joe's Garage
metal gate rebuild
deck project
Upholstery
December 2024
Office drywall
Custom Patio Furniture
Cabinet repair
November 2024
storage unit window sealing
rental property inspection
Westlake updates
Tile backsplash
Stock tank pool deck
Rotten windowsill replacement
Porch railings
Dryer vent
Automatic Gate
Attic stairs install
October 2024
Soffit repair
Raised garden beds
Logo repainting
September 2024
floating plant shelf
Trellis
August 2024
Walk In Closet
Mobile Toolbox
Greensboro Dr rental make ready
July 2024
tub refresh
Siding replacement
NY Ave rental make ready
Mini Noguchi Table
June 2024
Quick Gate Repair
Lake Austin Remodeling
Drywall and Shower Caulk
May 2024
hail damage repair
Deck and Water Damage
Chicken fence and gate
Custom door
April 2024
storage shed
trailer wiring repair
fireplace refresh
under sink hole
gate and painting
fence and gate
February 2024
precision digging
kitchen and laundry room tile
RV table remodel
Back Door Repair
rental property updates
May 2020
Pool Deck Project
Garage Cabinet Project
Wonderlounge Tent Build
Pool Mosaic
Nova Crane Mobile
Deck Project
AMS Library Expansion
AMS Fence Project
Custom Furniture
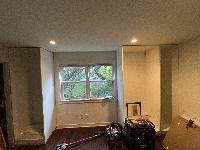
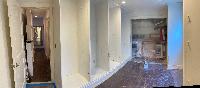
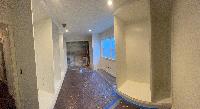
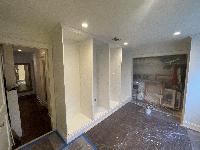
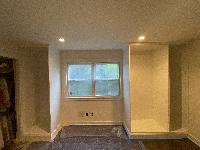
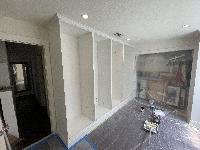
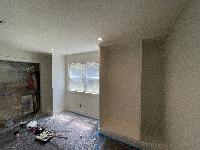
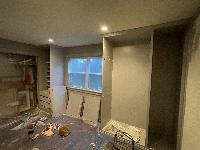
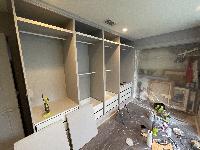
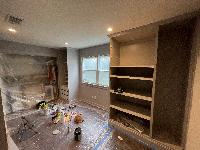
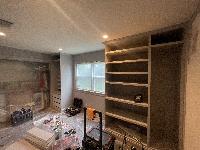
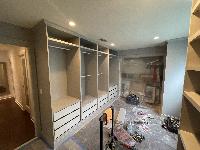
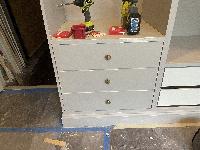
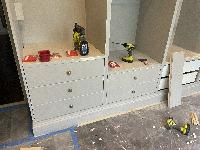
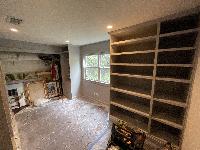
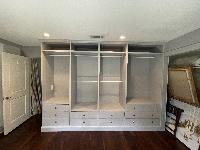
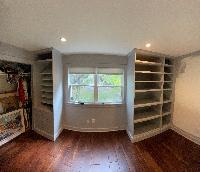
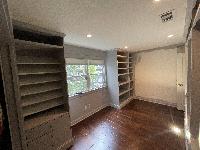
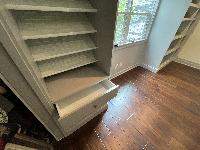
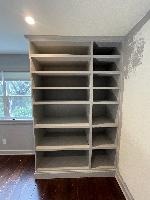
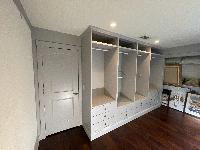
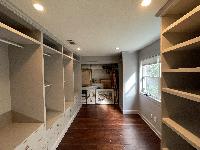
The client asked me to reproduce something they had seen in a blog post - convert a small bedroom into a large his-and-hers walk-in closet. The cabinets are Pax wardrobes from Ikea, heavily customized to look built-in. They have custom wood trim on the fronts, custom drawer fronts to match, baseboard and crown molding, all the extra holes filled with wood putty, and a final coat of primer and paint. Some of the other tasks I had to do included relocating a ceiling air conditioning register and moving the light switch from the wall to the side of one of the wardrobes.
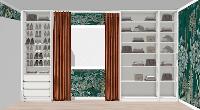
Client used IKEA's designer to select and arrange Pax wardrobes for one side of the room...

IKEA designer for the second side.
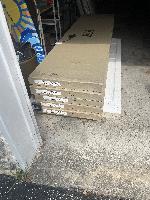
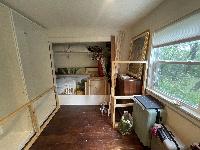
Walk in closet, some assembly required
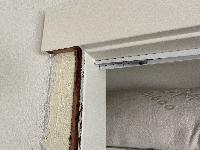
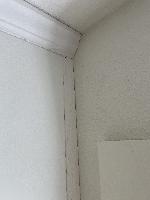
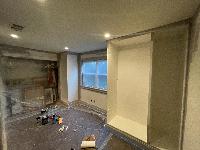
Removing trim from around existing closet
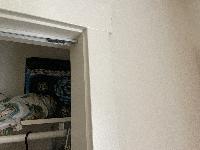
Trim around existing closet
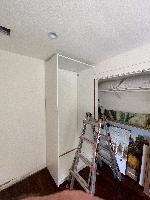
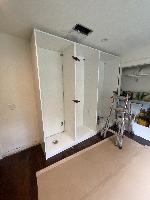
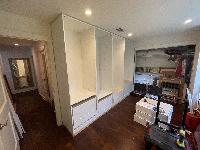
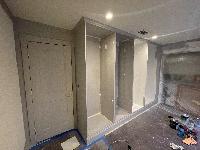
First cabinet assembled and in place
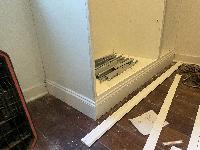
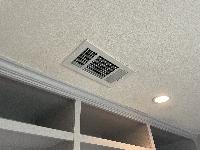
Second cabinet goes in, revealing an issue with the AC vent. That will need to move.

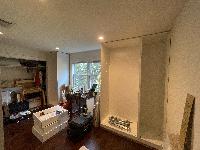
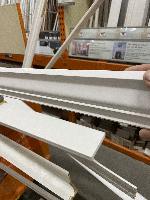
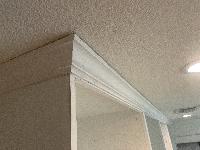
Quick mockup of where the crown moulding will go.
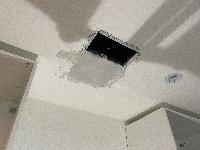
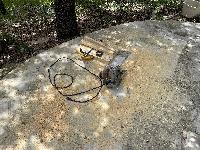
Vent wasn't too bad to move. It used flex duct.
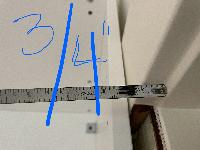
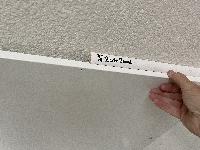
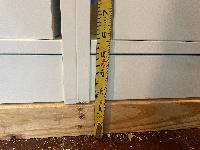
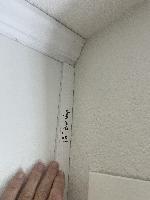
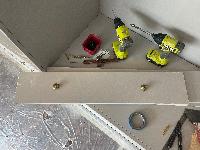
Measuring the thickness of the cabinet walls
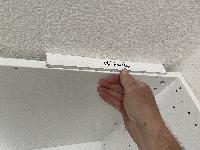
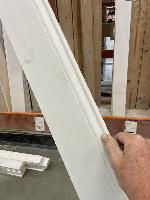
Mockup of what door threshold would look like on the fronts.
I thought I might use quarter round in some areas. In the end, I did not.
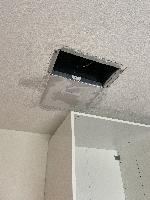
Another shot of the vent move in progress.

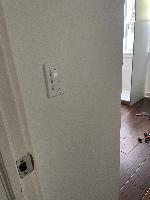
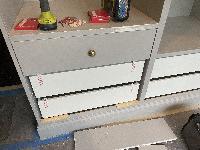
Asked the client what to do about this outlet. They decided to just cut a hole in the cabinet in case they needed to access it.
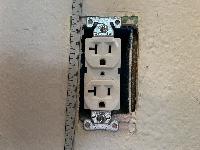
Measuring outlet location
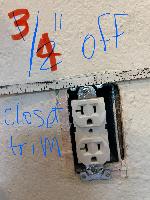
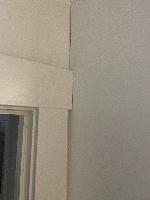
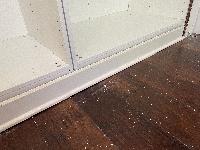
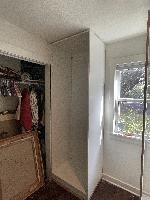
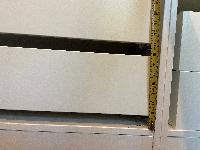
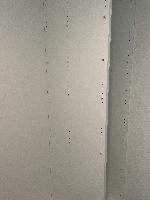
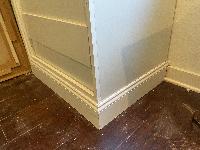
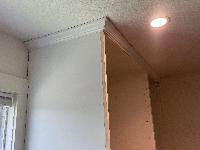
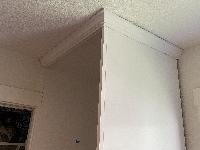
We decided to trim away he top trim to make the cabinet flush against this wall
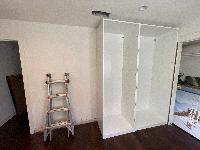
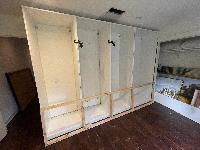
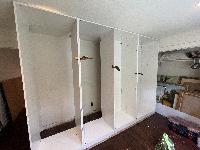
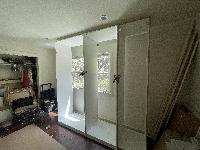
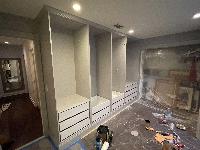
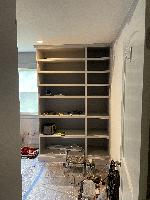
Three cabinets assembled
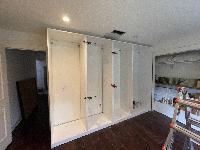
First wall assembled!
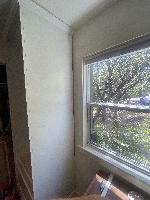
On the left side of the fourth cabinet, right up against the door trim.
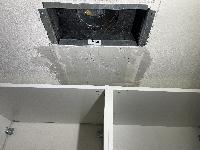
AC vent move, still in progress...
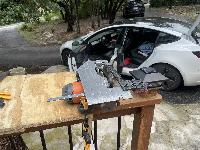
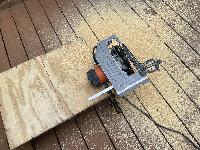
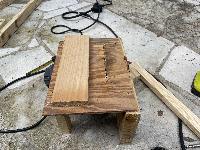
I don't have a table saw with me, so I improvised with my circular saw.
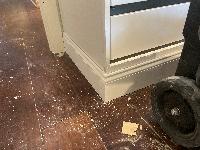
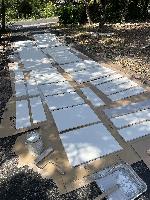
Ripping 2x4s for the raised base the cabinets will sit on generated a lot of sawdust.

Raised base for left side of room
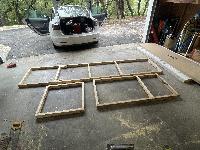
More raised bases
Good, everything is lining up!
I really should have put ram board down early in the project.
Revised and adapted - the most dangerous table saw ever.
More sawdust.
Testing the left side on the raised base.
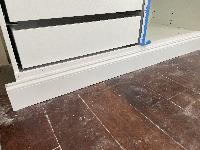
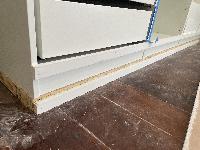
Quick demo of what the base would look like if we just imitated what was originally in the room for baseboard.
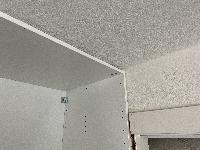
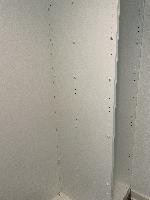
Closet top trim cut back so the cabinets are flush against the wall.
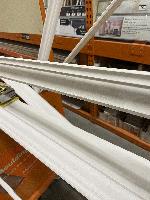
Sample for basic crown - we ended up using something nicer
Sample for basic crown - we ended up using something nicer
Three cabinets assembled for the right side
Last cabinet assembled!
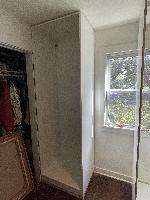
This one is also flush with the wall.
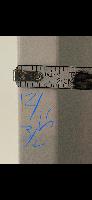
The light switch was going to get covered up, so I relocated it to be inside the cabinet.
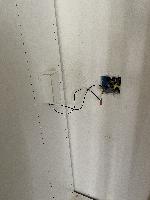
Initial wiring for the switch - this got cleaned up.
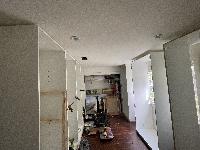
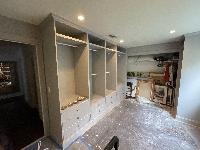
The whole room, feeling pretty crowded.

Left side assembled, cutout for outlet in place.
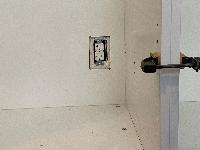
Outlet cutout
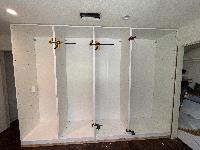

Test fit of the top shelf and the closet rods


20240903-164656
20240903-164703
20240904-122900
20240904-133318
20240904-140753
20240904-142801

20240904-150101
20240904-151432
20240904-155641
20240904-173118
20240904-173136

20240905-170900
20240905-170913
20240905-170955
20240905-171020
20240905-171030
20240905-171055
20240905-171149
20240905-171202
20240906-144422

20240906-144450
20240906-144457
20240906-144537
20240906-144704

20240906-144705
20240906-144727
20240906-144847
20240906-144935
20240906-145017
20240906-151535
20240906-151542
20240906-151555
20240906-151603
20240906-151639
20240906-151658
20240906-151746
20240906-152147